How to Create AI Cat with Hat Images: Tools, Prompts & Examples
A practical, experience-driven guide to creating AI cat with hat images. Includes real prompt examples, creative styles, and simple workflows to turn rough generations into polished, share-worthy visuals.
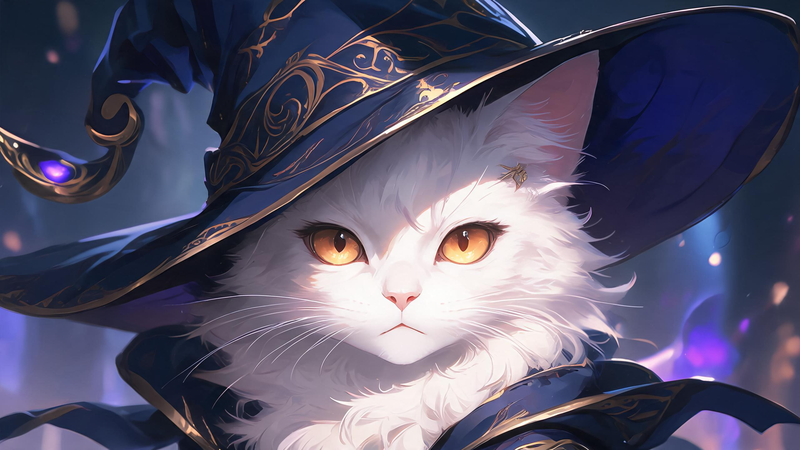
I didn’t expect this to become a thing, but somehow… cats wearing hats are everywhere.
You’ll see them as profile pictures, meme content, even in game avatars. There’s just something oddly perfect about putting a tiny hat on a cat — it instantly adds personality. A normal cat looks cute, but a cat in a hat? It tells a story.
At first, I was just downloading cute animal photos I found online. But after a while, everything started to look the same. That’s when I started experimenting with AI image tools to create my own versions — and honestly, it’s a lot more fun than I thought.
Instead of searching for the “perfect” image, you can just describe what you want and generate it. Want a sleepy cat in a knitted beanie? Done. A dramatic cinematic cat in a wide-brim hat? Also doable.
That’s really the appeal of creating AI cat with hat images — you’re not limited by what already exists. You can make something that feels uniquely yours in seconds.
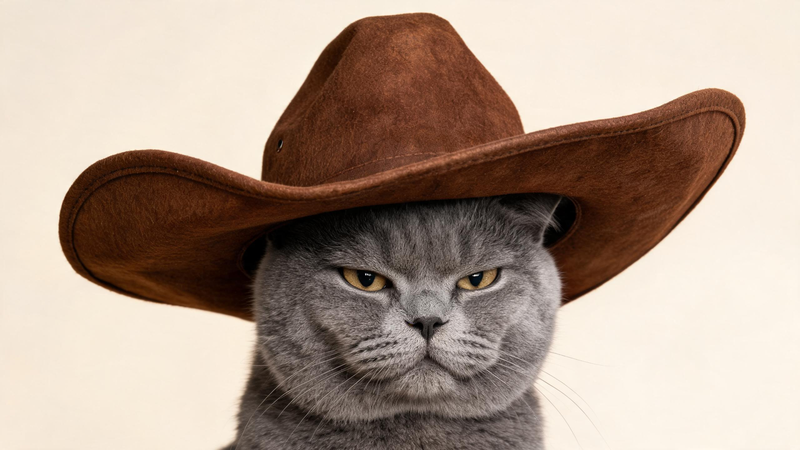
My Favorite Styles of AI Cat with Hat Images
After generating way too many of these, I started noticing that some styles just work better than others. Here are a few I keep going back to.
Classic Cat with Hat
This is the simplest starting point — just a realistic cat with a clean, well-fitted hat. Nothing too exaggerated.
I usually go for:
- soft lighting
- neutral background
- subtle expression
It works well if you want something that feels natural but still a bit playful.
Cute & Cartoon Style
If you’re making avatars or profile pictures, this is probably the best direction.
Think:
- big eyes
- soft colors
- slightly oversized hats
These tend to look more “designed” and less like photography, which makes them perfect for social platforms.
Funny / Meme Cats
This is where things get chaotic (in a good way).
I’ve tried:
- oversized hats that don’t fit
- serious cats wearing ridiculous outfits
- exaggerated expressions
Sometimes the best meme results come from prompts that don’t make total sense.
Anime / Game-Style Cats
This one surprised me the most. If you push the style toward anime or game art, the results can look incredibly polished.
I usually describe:
- upper body portrait
- detailed shading
- stylized lighting
These work really well if you’re trying to create something closer to a character rather than just a pet photo.
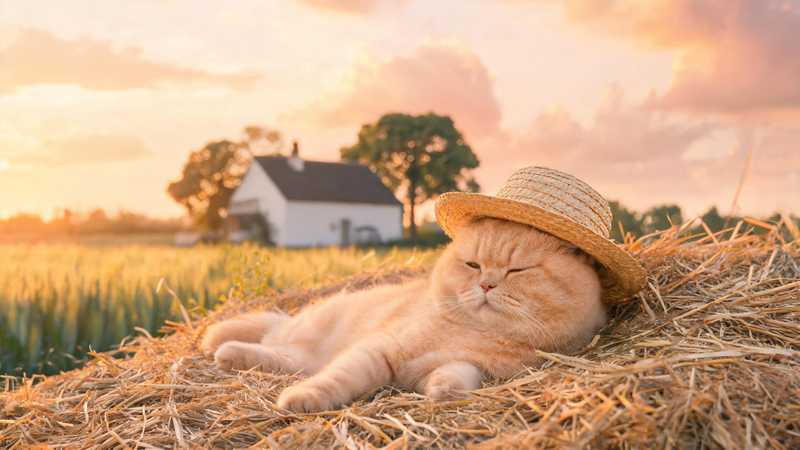
Cat with Straw Hat (One of My Favorites)
This is probably the style I come back to the most.
There’s something about a straw hat that instantly changes the mood — it feels warmer, more relaxed, almost like a summer scene.
When I generate AI cat with straw hat images, I usually imagine:
- sunlight
- outdoor settings
- soft golden tones
Even a simple prompt can produce something that feels surprisingly atmospheric. It’s also a great style if you want something that stands out without being too over-the-top.
Prompts I Actually Use (and Keep Reusing)
I’ll be honest — most of my results didn’t come from “perfect prompts.” They came from tweaking the same idea over and over.
That said, here are a few prompts that consistently give me good results.
Cute Cat with Hat
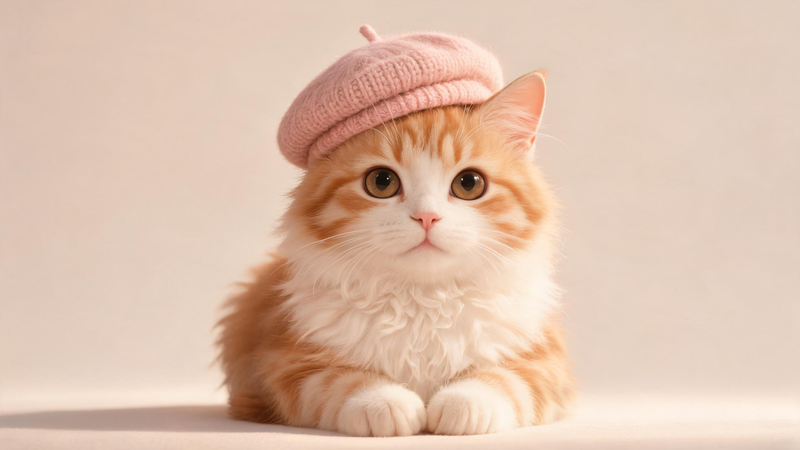
A cute fluffy cat wearing a small hat, soft lighting, pastel colors, highly detailed, 4k
I usually start here when I just want something clean and friendly.
Realistic Cat with Hat
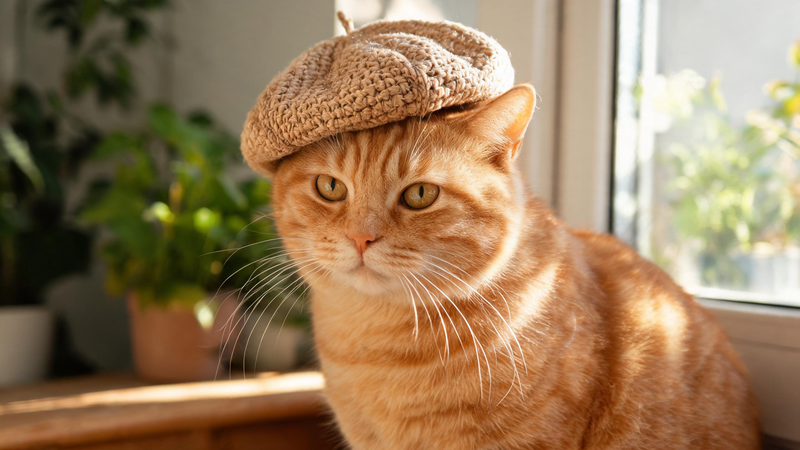
A realistic cat wearing a stylish hat, natural lighting, sharp details, professional photography
If the output looks too “AI-ish,” I’ll add things like “lens detail” or “depth of field” to make it feel more real.
Cat with Straw Hat
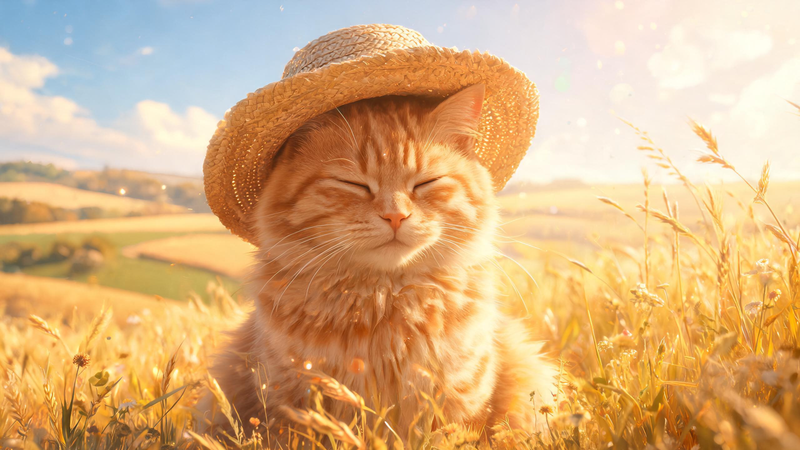
A cat wearing a straw hat, sitting in a sunny field, warm tones, cinematic lighting, highly detailed
This is my go-to for that relaxed, summery look. Small tweaks like “golden hour” or “breeze” can make a big difference.
Anime-Style Cat Portrait
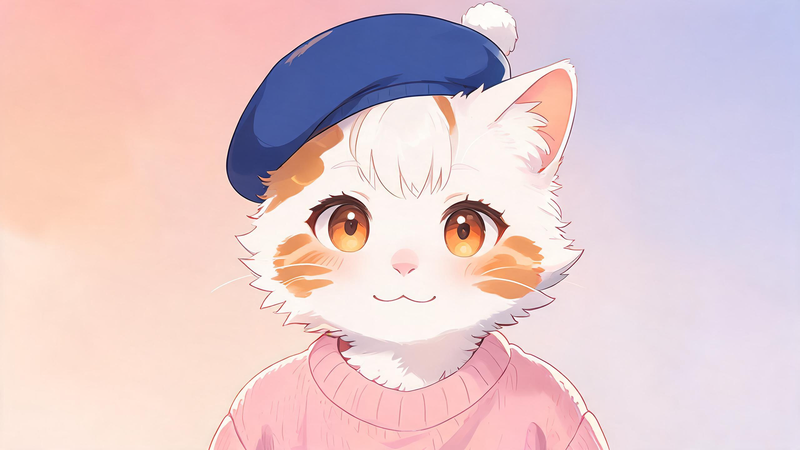
Anime-style cat character with a hat, upper body portrait, detailed shading, vibrant colors
If you want something that looks like a game avatar, this direction works really well.
Funny Cat with Hat
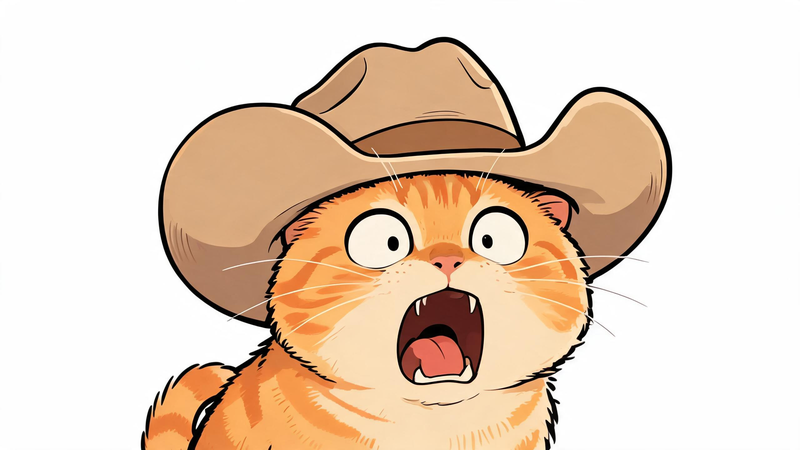
A funny cat wearing an oversized hat, exaggerated expression, meme style, high contrast
Sometimes I’ll intentionally make the prompt a bit ridiculous — those often turn out the most interesting.
A Few Things That Help (From Trial and Error)
- Adding lighting details (soft, cinematic, warm) improves results more than you’d expect
- “Highly detailed” still works surprisingly well
- If something feels off, I usually regenerate instead of over-editing
- Small wording changes can completely change the vibe
Over time, you kind of develop a feel for what works. And once you find a prompt that works, don’t be afraid to reuse it — just tweak one or two elements each time.
That’s honestly how I ended up creating most of my favorite AI cat with hat images.
Tools I’ve Tried (and What Actually Works)
I didn’t stick with just AI image generation tool in the beginning. Like most people, I tried a few to see what felt right.
Some are great for artistic styles, some are better for realism, and some are just easier to use when you want quick results.
Here’s how they felt from my experience.
Vheer (What I Use Most Often Now)
This is the one I ended up going back to the most.
Not because it’s the most “powerful” in a technical sense, but because it’s the easiest to get consistent results with. When I’m generating multiple variations — especially for things like profile pictures — consistency matters more than anything.
What I like:
- it handles simple prompts really well
- styles come out clean without too much randomness
- it’s fast enough to experiment without overthinking
When I’m creating batches of AI cat with hat images, this is usually where I start. It just feels more predictable in a good way.
Other AI Image Generators I Used
Midjourney
Midjourney is great if you want something more artistic or stylized.
The results can look amazing, but I find it a bit less controllable sometimes. You might get something beautiful… but not exactly what you had in mind.
I still use it when I want something more “creative” rather than consistent.
DALL·E / GPT Image
This one feels the most straightforward.
It’s easy to use and generally follows prompts pretty well. If you’re just getting started, it’s a good place to experiment without too much setup.
In the end, I don’t think there’s a single “best” tool. It really depends on what you’re trying to create.
But if your goal is to generate clean, repeatable AI cat with hat images without spending too much time tweaking, simpler tools tend to work better.
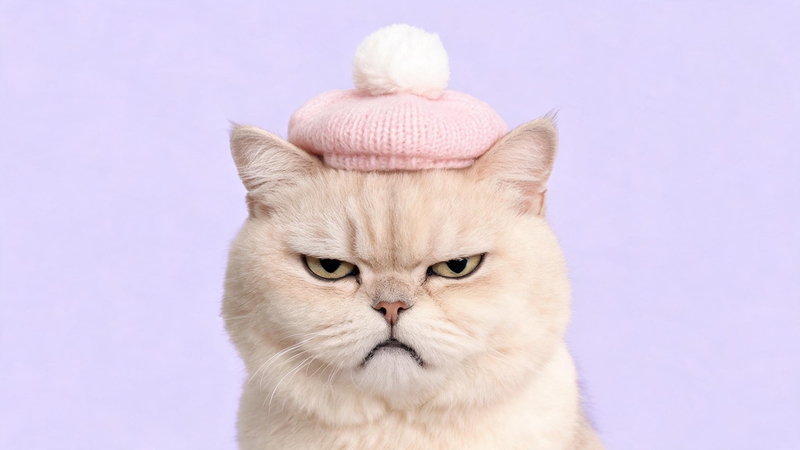
How I Actually Create These Images (Using Vheer)
Step 1: Open Vheer and Start Simple
I usually go straight to the text-to-image generator and start with a very basic idea.
Something like:
“a cat wearing a hat”
That’s it. I don’t try to get everything right in one go. Starting simple makes it easier to adjust later.
Step 2: Build the Prompt Gradually
This is where the image starts to come alive.
Instead of rewriting everything, I just layer in details:
- lighting (soft, cinematic, warm)
- style (realistic, anime, cartoon)
- mood (cozy, dramatic, playful)
So that simple prompt turns into something like:
“a cat wearing a straw hat, warm sunlight, soft shadows, highly detailed”
From my experience, even a small upgrade like this is enough to generate really solid AI cat with straw hat images.
Step 3: Set the Right Format for What You Need
Before generating, I usually pick an aspect ratio depending on where I’ll use the image.
- 1:1 → profile pictures (what I use most)
- 16:9 → banners or blog visuals
- 2:3 → more portrait-style images
This step is easy to overlook, but it actually saves time later.
Step 4: Pick a Model (This Matters More Than You Think)
One thing I didn’t realize at first is how much the model choice affects the result.
In Vheer, I usually switch between a few depending on what I want:
- cleaner, consistent images → I go with more stable models
- more detailed or realistic output → I try higher-quality options
- quick testing → I use faster models to iterate
Sometimes, changing the model gives a better result than rewriting the prompt entirely.
Step 5: Generate a Few Versions (Not Just One)
I almost never rely on a single output.
Usually I generate a few variations and just compare them. It’s faster than trying to “perfect” one image.
This is especially useful when creating multiple AI cat with hat images for things like avatars — you can quickly pick the one that feels right.
Step 6: Tweak, Don’t Overthink
If something feels slightly off, I don’t start over.
I just adjust one small thing:
- change “soft lighting” → “golden hour”
- add “close-up portrait”
- slightly shift the mood
Small edits tend to give more predictable improvements.
Step 7: Keep the Good Prompts
Whenever something turns out really well, I save the prompt.
After a while, you end up with your own set of “go-to” prompts that you can reuse and tweak. That’s honestly what made the biggest difference for me.
How I Recreate a Style from an Image I Like
When I was trying to create better AI cat with hat images, one problem kept coming up — I could picture the style in my head, but I couldn’t quite describe it.
Sometimes I’d see an image with the exact vibe I wanted:
soft lighting, warm tones, maybe a slightly cinematic feel. But when I tried to turn that into a prompt, the result just felt… off.
That’s when I stopped guessing.
Now, if I find a cat image (or even a portrait) with a style I like, I use it as a reference instead of trying to describe everything manually.
By describing that image using an image to prompt generator, I can extract things like:
- lighting style (golden hour, soft shadows)
- color tone (warm, muted, vibrant)
- overall mood (calm, cozy, dramatic)
From there, it becomes much easier to recreate that same feeling — just with my own subject.
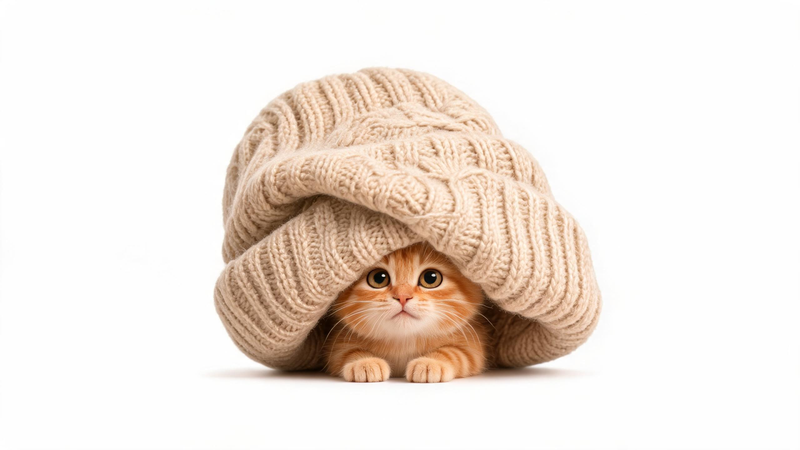
How I Fix Images That Are Almost Perfect
This happens all the time when I’m generating AI cat with hat images.
The image looks great overall… but one thing feels slightly off.
The Kind of Problems I Run Into
Usually it’s small details:
- the hat color doesn’t match the mood
- the background feels too plain
- the lighting is a bit too harsh
- the composition is good, but not quite “profile picture ready”
Before, I would just regenerate everything and hope for something better.
Now I almost never do that.
Fixing Instead of Restarting
If an image is already close, I treat it like a draft instead of starting over.
This is where I started using Vheer’s image-to-image tool.
Instead of generating a completely new image, I upload the one I already like and just describe what I want to change. The tool keeps the original structure — pose, composition, overall feel — and updates only the parts I mention.
For example, I might take an image and adjust it with instructions like:
- “change the hat to a soft beige straw hat”
- “add warm sunset lighting in the background”
- “make it a close-up portrait for a profile picture”
It feels less like regenerating, and more like refining.
What I’ve Learned (After Doing This Too Many Times)
A few patterns I’ve noticed:
- don’t try to fix everything at once
- keep your edits focused and specific
- work from a strong base image
If the original image is already good, small adjustments go a long way.
How I Think About It Now
At this point, I don’t expect the first result to be perfect.
I expect it to be close.
From there, it’s just:
adjust → refine → improve
And that’s usually how I end up with the final version I actually want.
Final Thoughts
Creating AI cat with hat images is honestly simpler than it looks.
Most of the time, it just comes down to a basic idea, a few prompt tweaks, and a bit of refinement. You don’t need perfect prompts — just something to start with, then adjust as you go.
What made the biggest difference for me was treating it as a process, not a one-shot result.
Generate → tweak → refine.
That’s it.